1993 Harley FXR - Upgraded Performance, Suspension and Style
About a year ago, we picked up a stock 1993 Harley FXR. We wanted to keep this build clean to match the original design of the tins while still using performance oriented upgrades. We also added some additional go power to the motor without changing the cubic inch. This is what the bike looked like the day we brought it home. Stock all the way from 1993 and in really great condition.

Disassembly was done in a few different sections, but in the end every single piece of this bike was torn apart and put back together.
First up was the motor. We contacted T-Man Performance about doing their Evo Street Fighter Kit. It's a great option to freshen up the 80" and increase overall hp & tq performance. T-Man installs oversized valves to increase flow and utilize a higher compression piston. The kit also includes the T-Man 625 cam and a few other performance pieces that make the kit a worthwhile upgrade for a FXR restoration or performance build.
We knew the motor would take a few weeks so we pulled the cylinders and top end apart first and had them shipped out to T-Man.


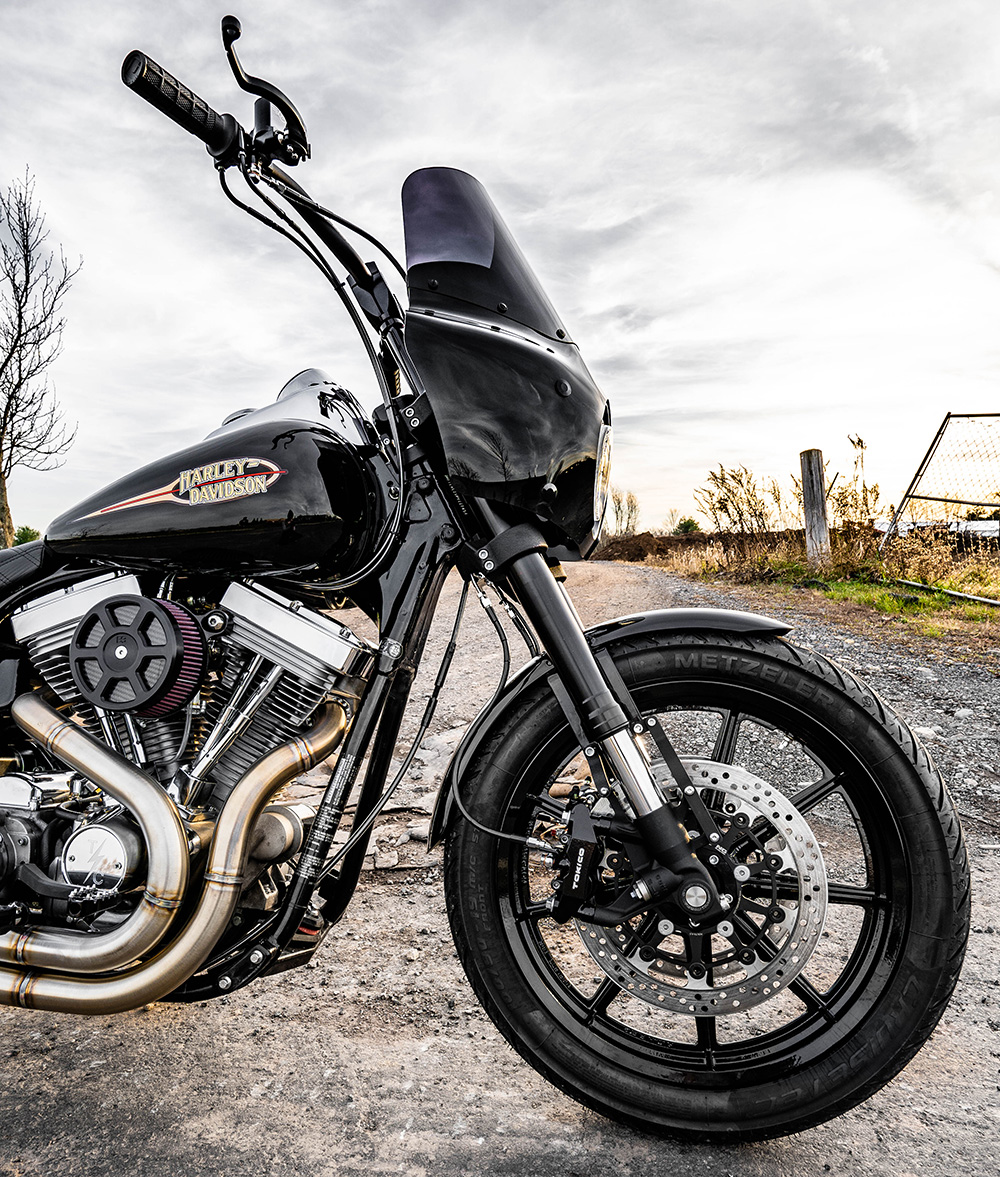
Next was the front suspension setup. Gigacycle has a really sick kit that we used called the Corsair Inverted Front End for FXR & Dyna models. It includes: Fork Legs, Triple Trees, Calipers, Rotors and hardware. We also opted to add the GPR stabilizer.


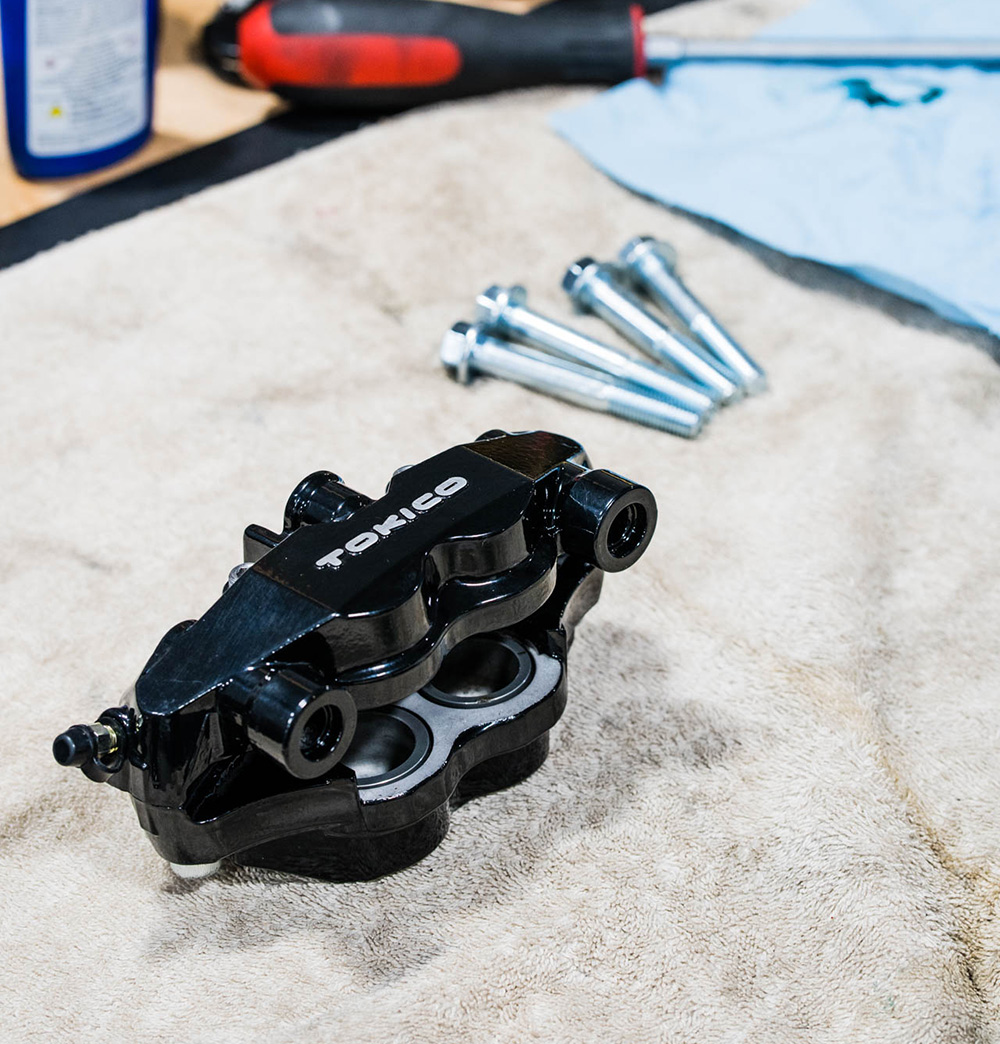
We wanted to keep the stock wheels - so those got sent off to our local powdercoater for a fresh gloss black finish. Assembly of the wheels/tires included Metzeler CruiseTecs, Gigacycle Front Rotor, Twin Power Rear Rotor, and Tokico Calipers that were also included in the Gigacycle kit.


Once the front end was assembled we installed 8" Kraus Risers paired with 1" ODI Podium handlebars.

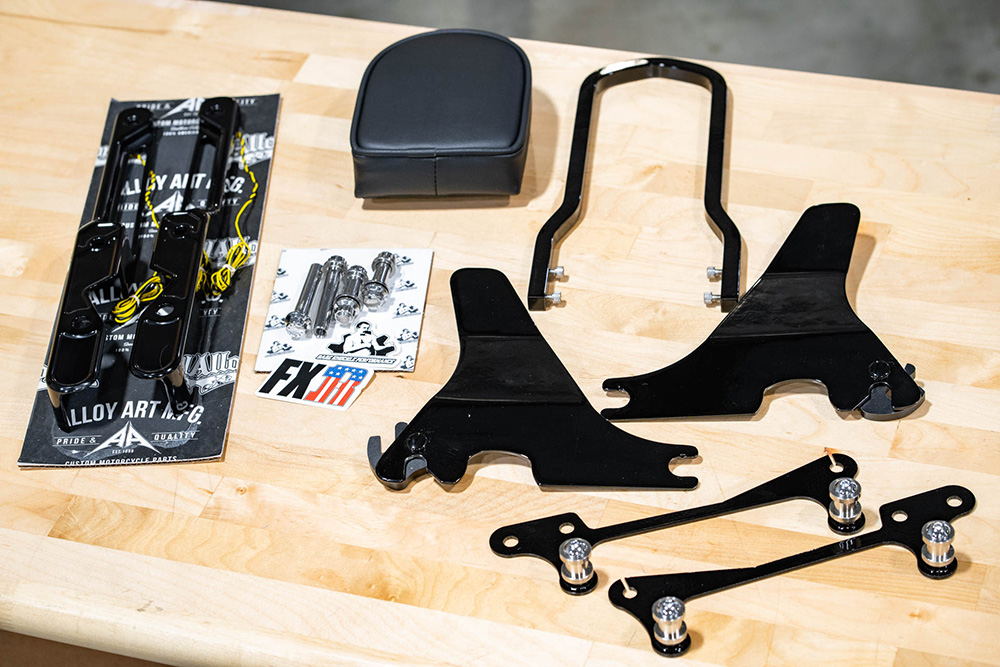
Next up, the primary. We decided early on we were going to convert the bike to chain drive so the entire primary had to be pulled apart to make the swap. We also converted the fender struts to a set of Alloy Art with built in LED Signals.

Since this FXR will most likely have a passenger - we made sure to integrate a sissy bar that would work with this setup. Boosted Brad has a kit that worked with the Alloy Art struts.
Primary Tear Down and Chain Drive Conversion.


Stock rear suspension was also due for an upgrade so went with a set of Legend 14" Gold Revo-A shocks.

We used the Chain Conversion Kit from Twin Power. It has everything you need to make the swap - only thing that you need to pick up is the chain. We went with the Bikemaster Gold 530 x 120 BMZR series chain.


Bare Knuckle Paul has some axle adjusters that are a great upgrade from the stock setup.

A fresh chrome Primary cover and Derby Cover gives this side a clean finished look.
After a few weeks out, T-Man sent back our cylinders and we were ready to put this motor back together.


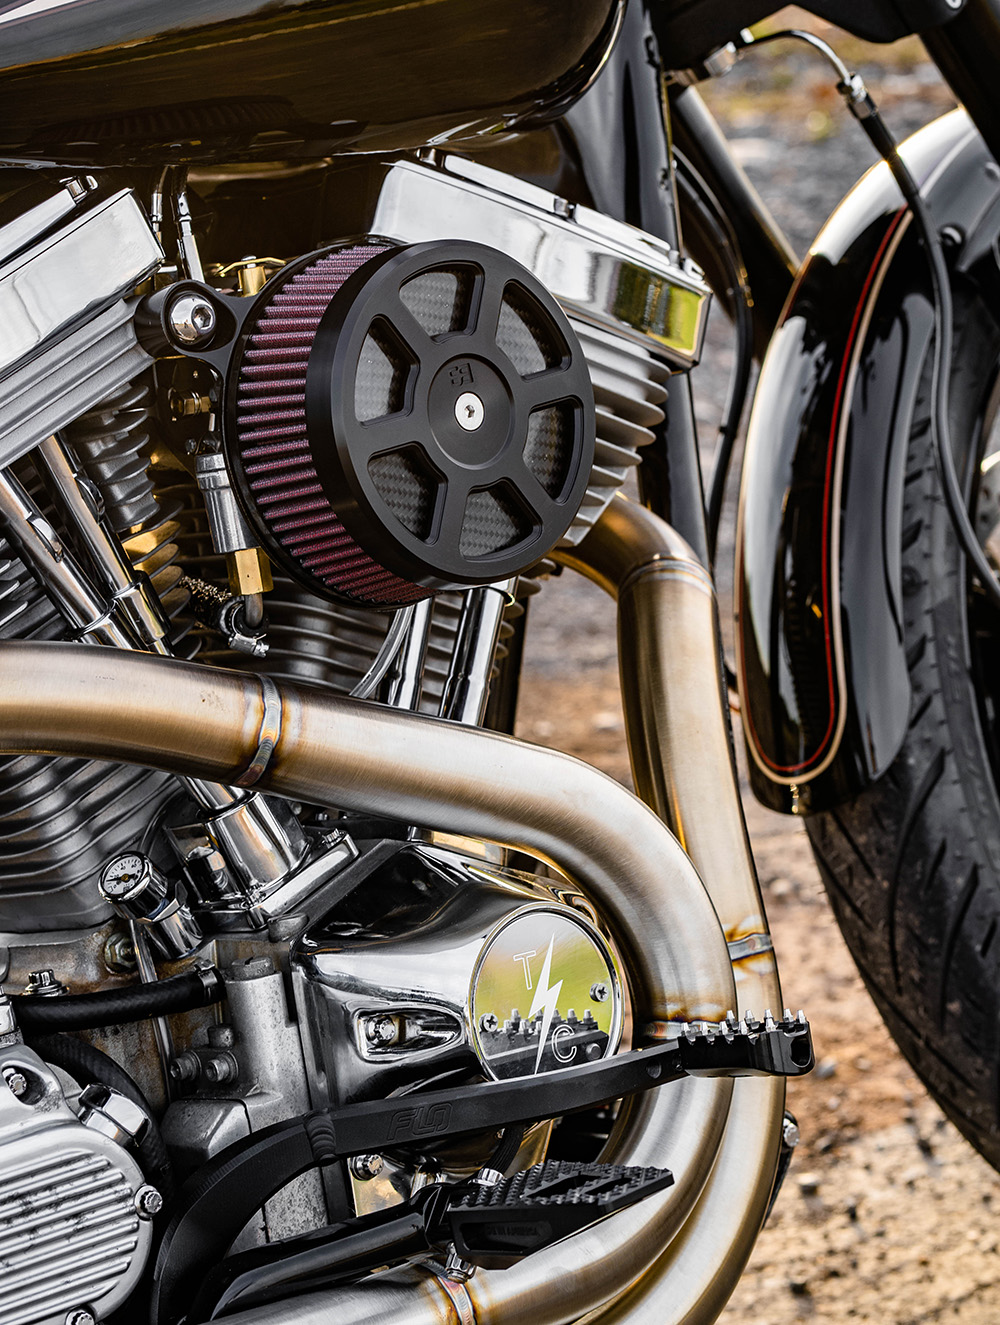
After the motor was complete, we did a full day of wiring and installing hand controls, cables and brakes. Then another day Installing the S&S Stealth Air Cleaner with Brass Balls cover. Swapped the stock pegs for some Thrashin Supply P-54 Front and P-54 Slim Rear pegs. Paired with the Flo Brake & Shift Lever.
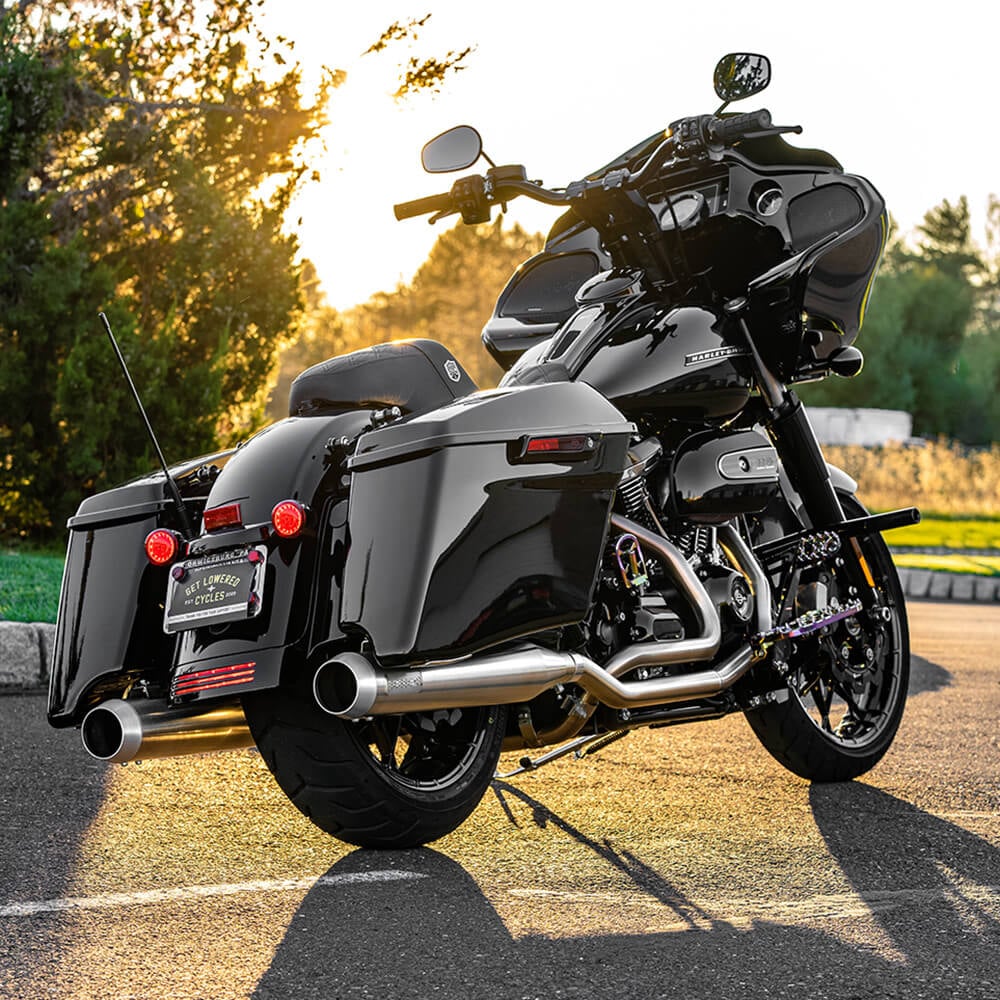
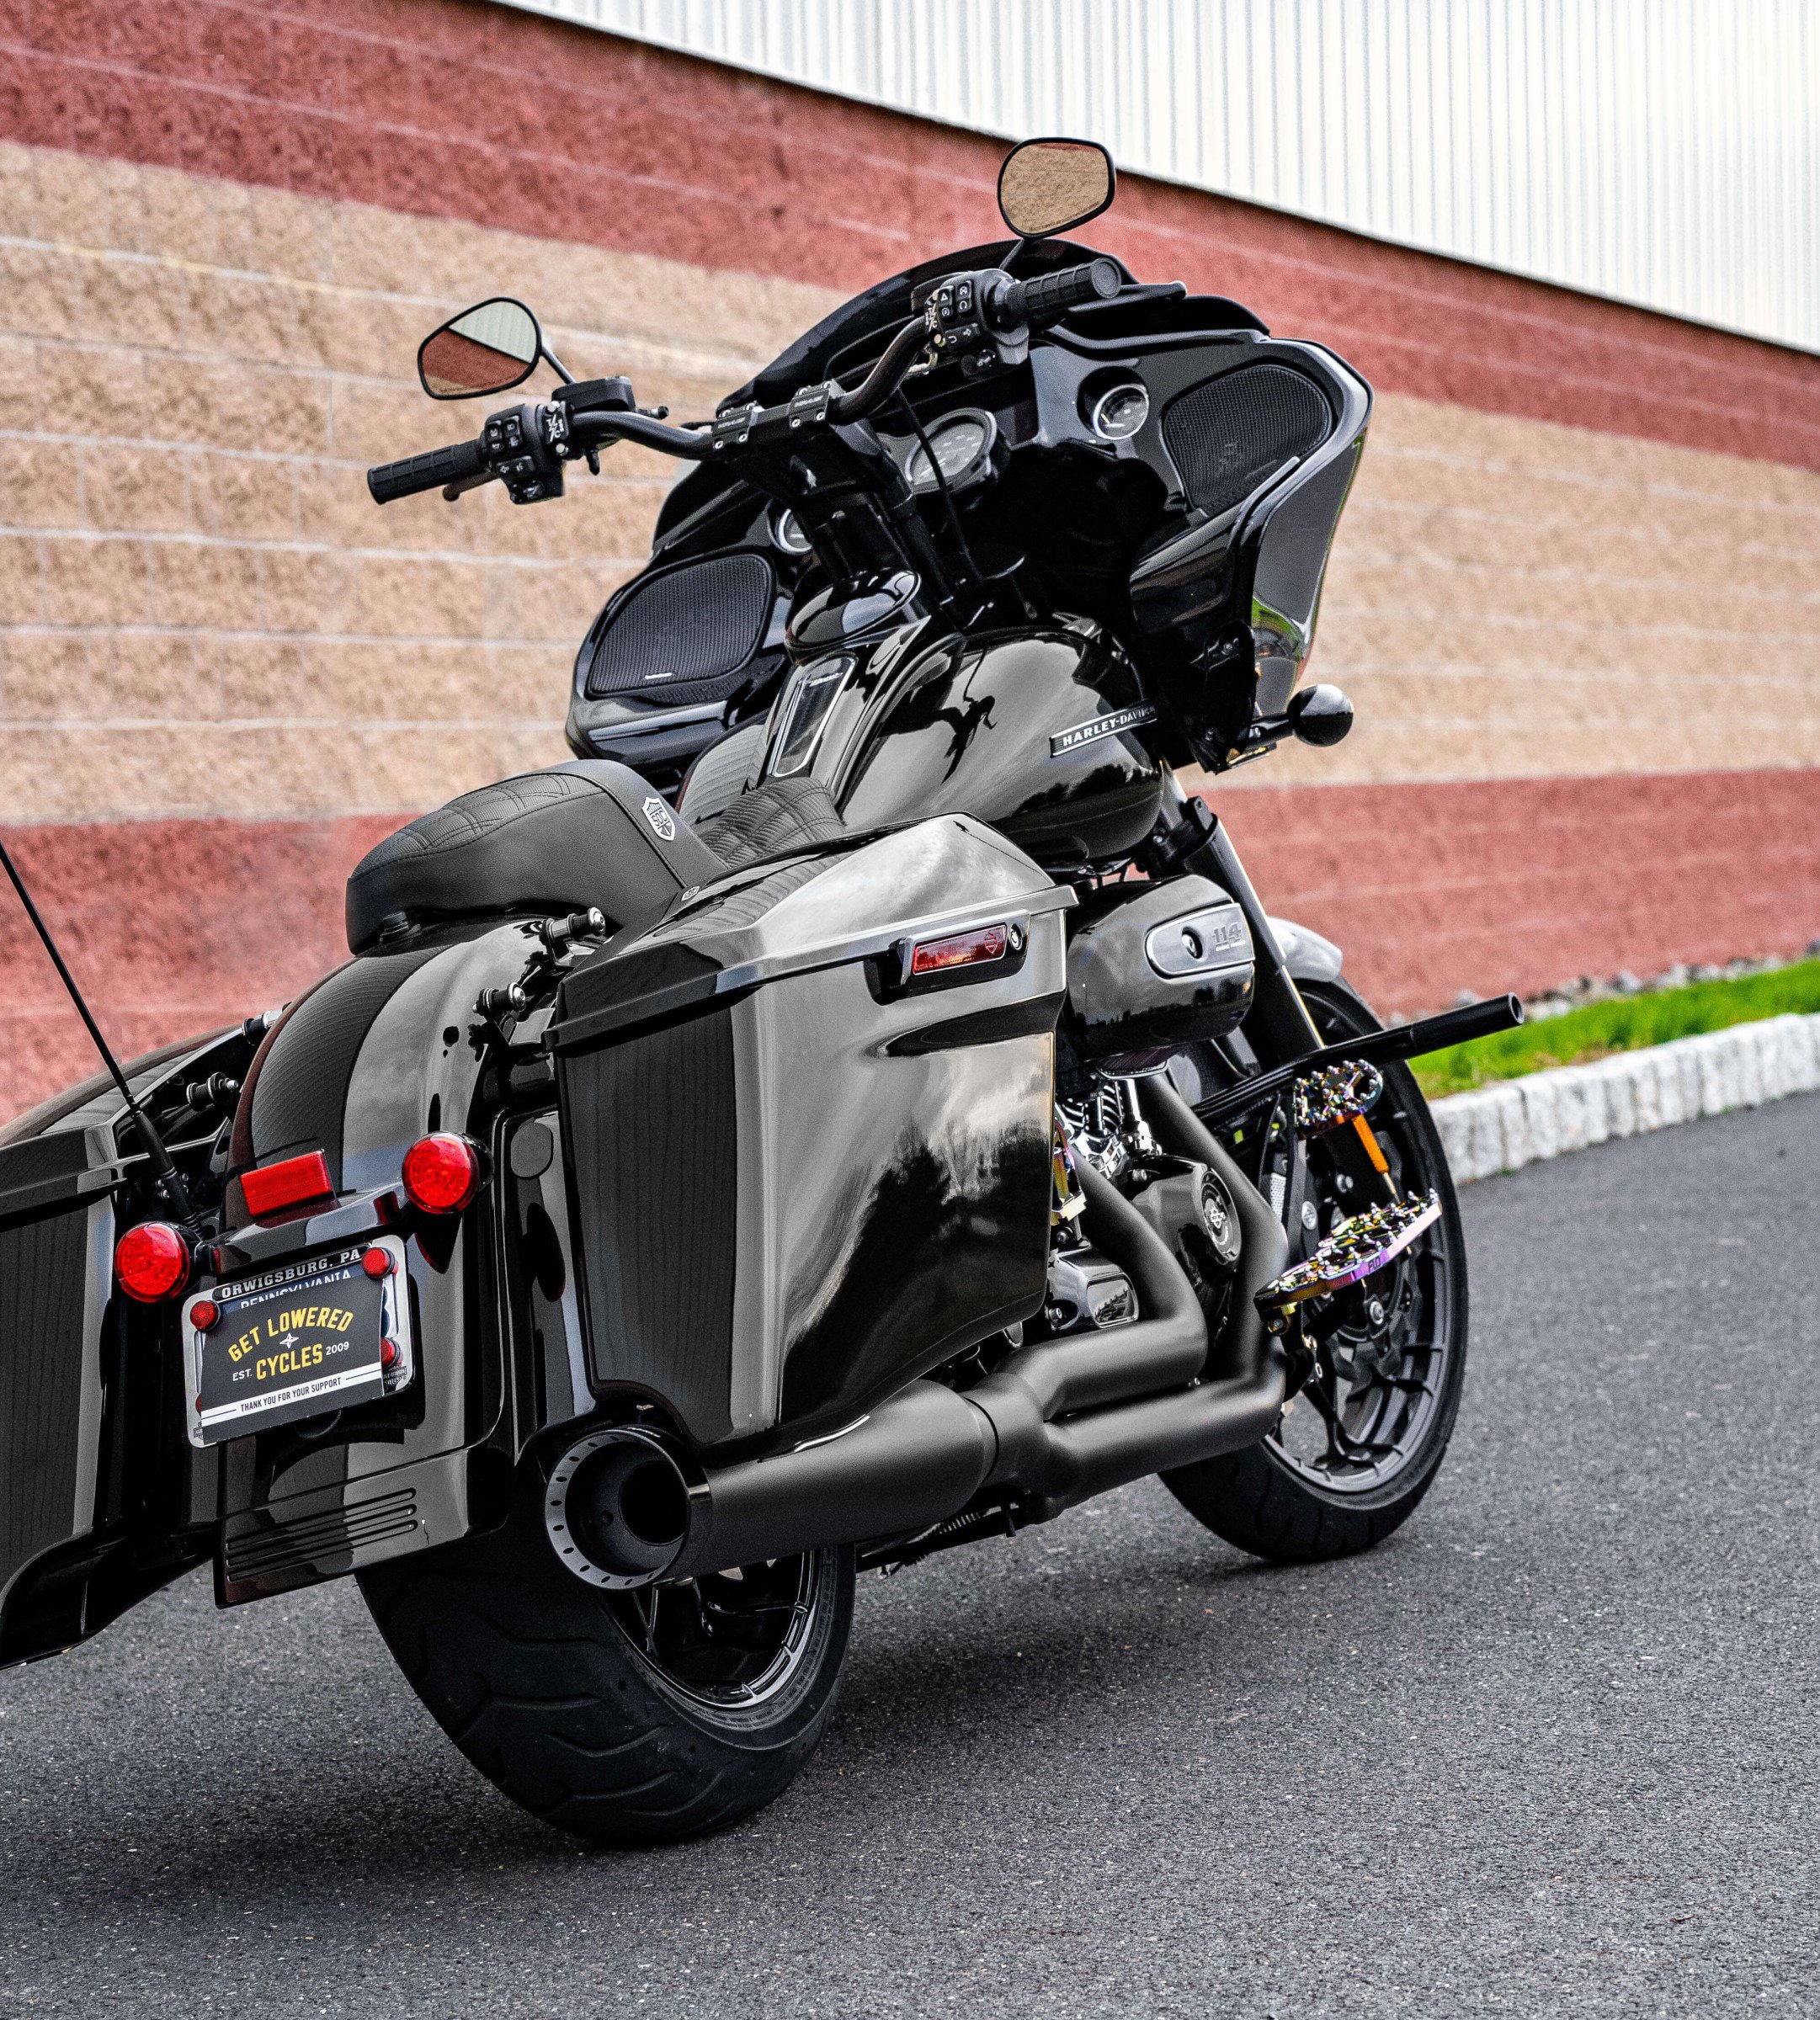
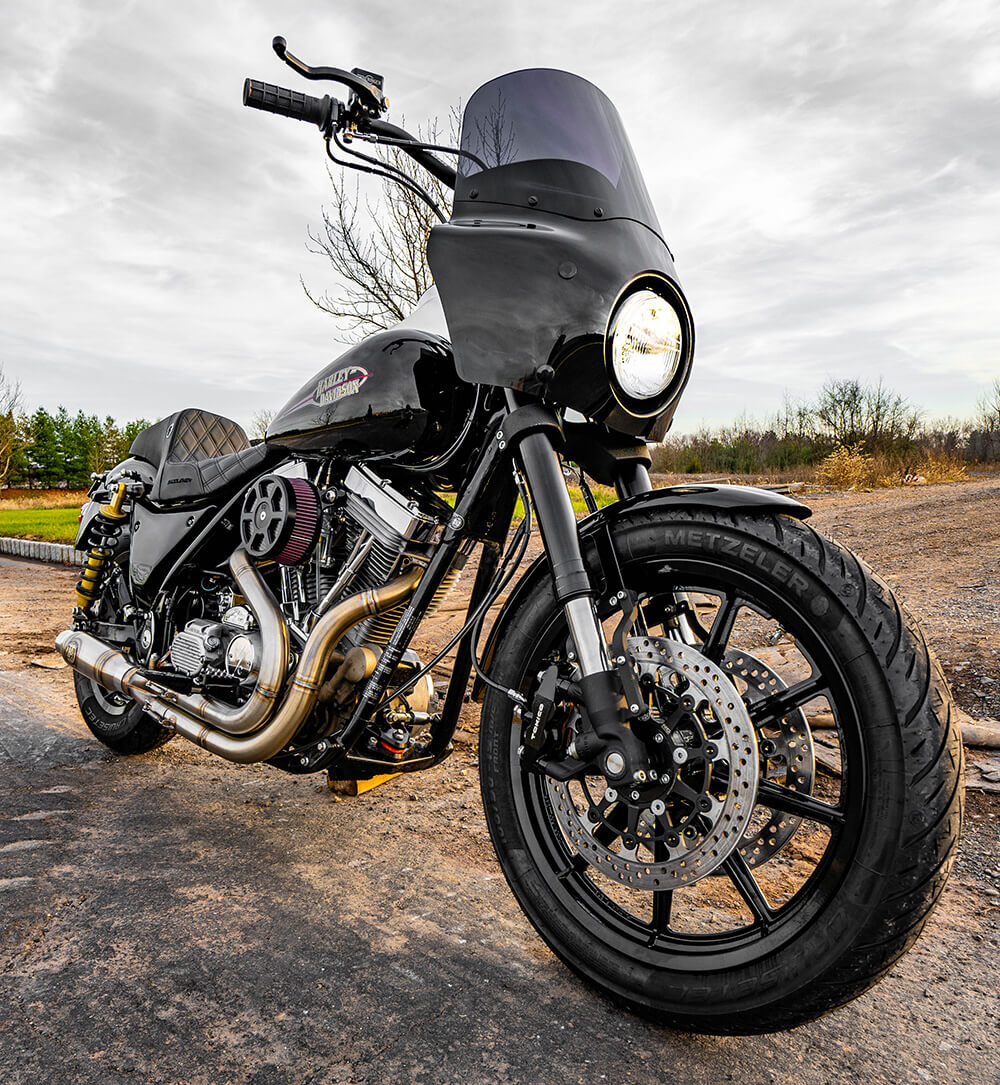
Final installs included Arlen Ness black FXR side panels, the HPI Stainless exhaust, Sand Diego Customs Pro Series Seat, and Memphis Shades Road Warrior Fairing. The folks over at Memphis Shades were kind enough to hook us up with specific hardware that would allow the fairing to fit our setup.
Check out the final shots below: